*Using this process involves using the Key Info rollout in Character Studio to record the keys. Do not use Auto Key or Set Key.
Step 1 -> 3: Setting the Tracks
The Tracks are located in the Character Studio Rollouts
Step 1: Select Track "Body Horizontal", Position the character along the X and Y axis. Record the key from the Key Info rollout.
Also, you need to realize that once you select any track you now have the Bip selected. The Tracks are how you set the keys for the biped.
Step 2: Select Track "Body Vertical", Position the character along the Z axis. Record the key from the Key Info rollout.
Step 3: Select Track "Body Rotation", Rotate the character along the X,Y, and Z axis. Record the key from the Key Info rollout.
These steps are just to position your character in world space.
Step 4: Position your character into its proper pose. Once you have the desired look select the whole biped minus the Bip. To do this double click ont the pelvis. If you have objects linked to the biped that don't belong, sword, shield, and object that isn't part of the original config, you will need to unselect those objects. If so make a selection set for easy selecting in the future. Next, Record the keys from the Key Info rollout.
Step 4 1/2: Choose your Planted, Free, and Sliding Keys. In the Key Info rollout you have some other key framing options that just normal key frames. The Planted Keys, used to plant feet and hand in world space. Sliding keys, used similar to Planted Keys but allow for slight movement. Free Key, used to replicate a normal key. This step is about deciding what keys are your planted keys and what keys need t be free keys. For example, if your character is walking the foot that supports your characters weight will be the planted key frame, while on the other hand the foot that is in motion is a Free Key.
------------------------------------------------------------------------------------------------------------------------------
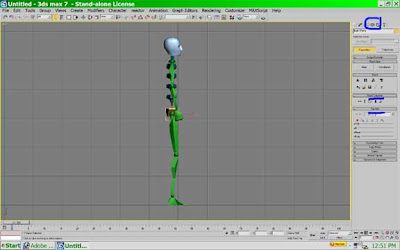
The Start - create a biped, with the biped still selected open up motion panel for all Character Studio rollouts.
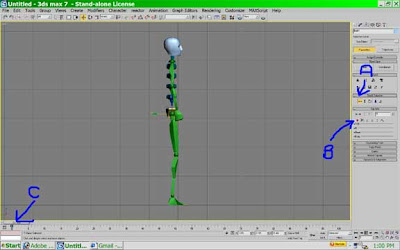
Step 1 - Select the Horizontal Track. "A", Hit the record button. "B", notice a key for the bip has been created. "C"
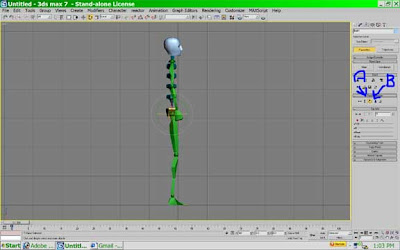
Step 2, Step 3 - Repet for Body Vertical Track "A", and Body Rotation Track. "B".
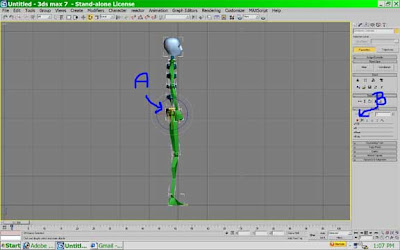
Step 4 - Douple click on the pelvis to select the whole biped "A", record the keyframe. "B"
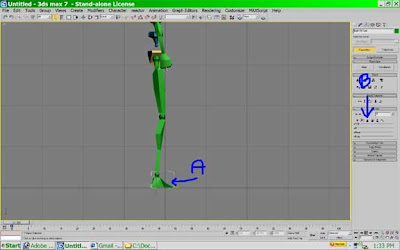
Step 4.5 - Select the right/green foot "A" and set a planted key"B".
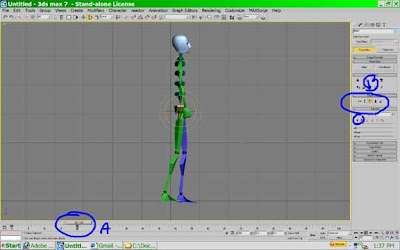
Step 1 - 3
Scrub out to frame 20 "A". Position the character using each track. "B" and record. Remember to do the rotation track even if your character doesn't rotate. One this forms good habbits, two it helps prevent minor mistakes down the line.
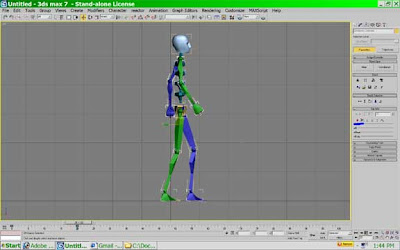
Step 4 - Position the biped in the disred pose. Double click ont he pelvis and record.
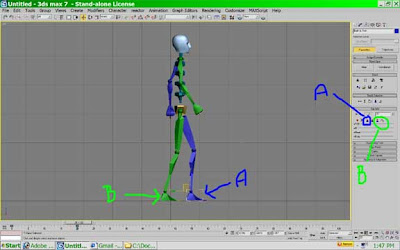
Step 4.5 - Select the left/blue foot and use a planted key "A". Select the right/green foot and use free key "A".
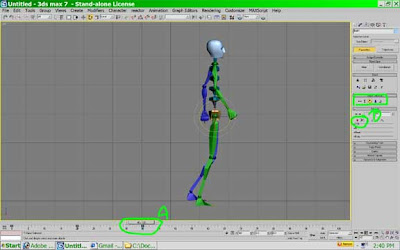
Step 1-3
Scrub out to frame 40 "A". Position the character using each track. "B" and record.
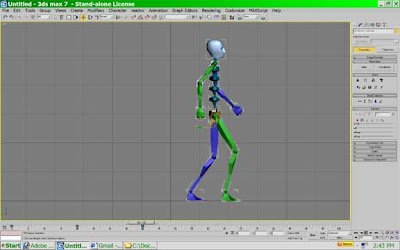
Step 4 - Position the biped in the disred pose. Double click ont he pelvis and record.
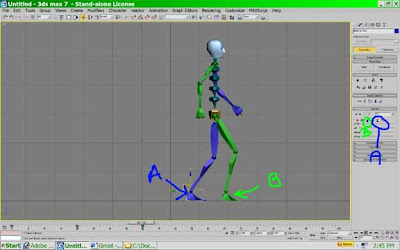
Step 4.5 - Select the left/blue foot and use a free key "A". Select the right/green foot and use planted key "A".
Tween as needed.

tween @ frame 10
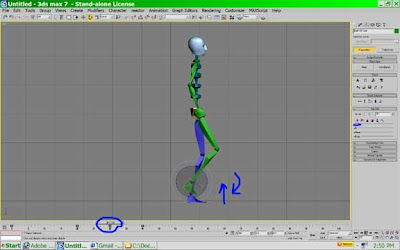
tween @ frame 30


No comments:
Post a Comment